How to Keep Hummingbird Feeders Cool

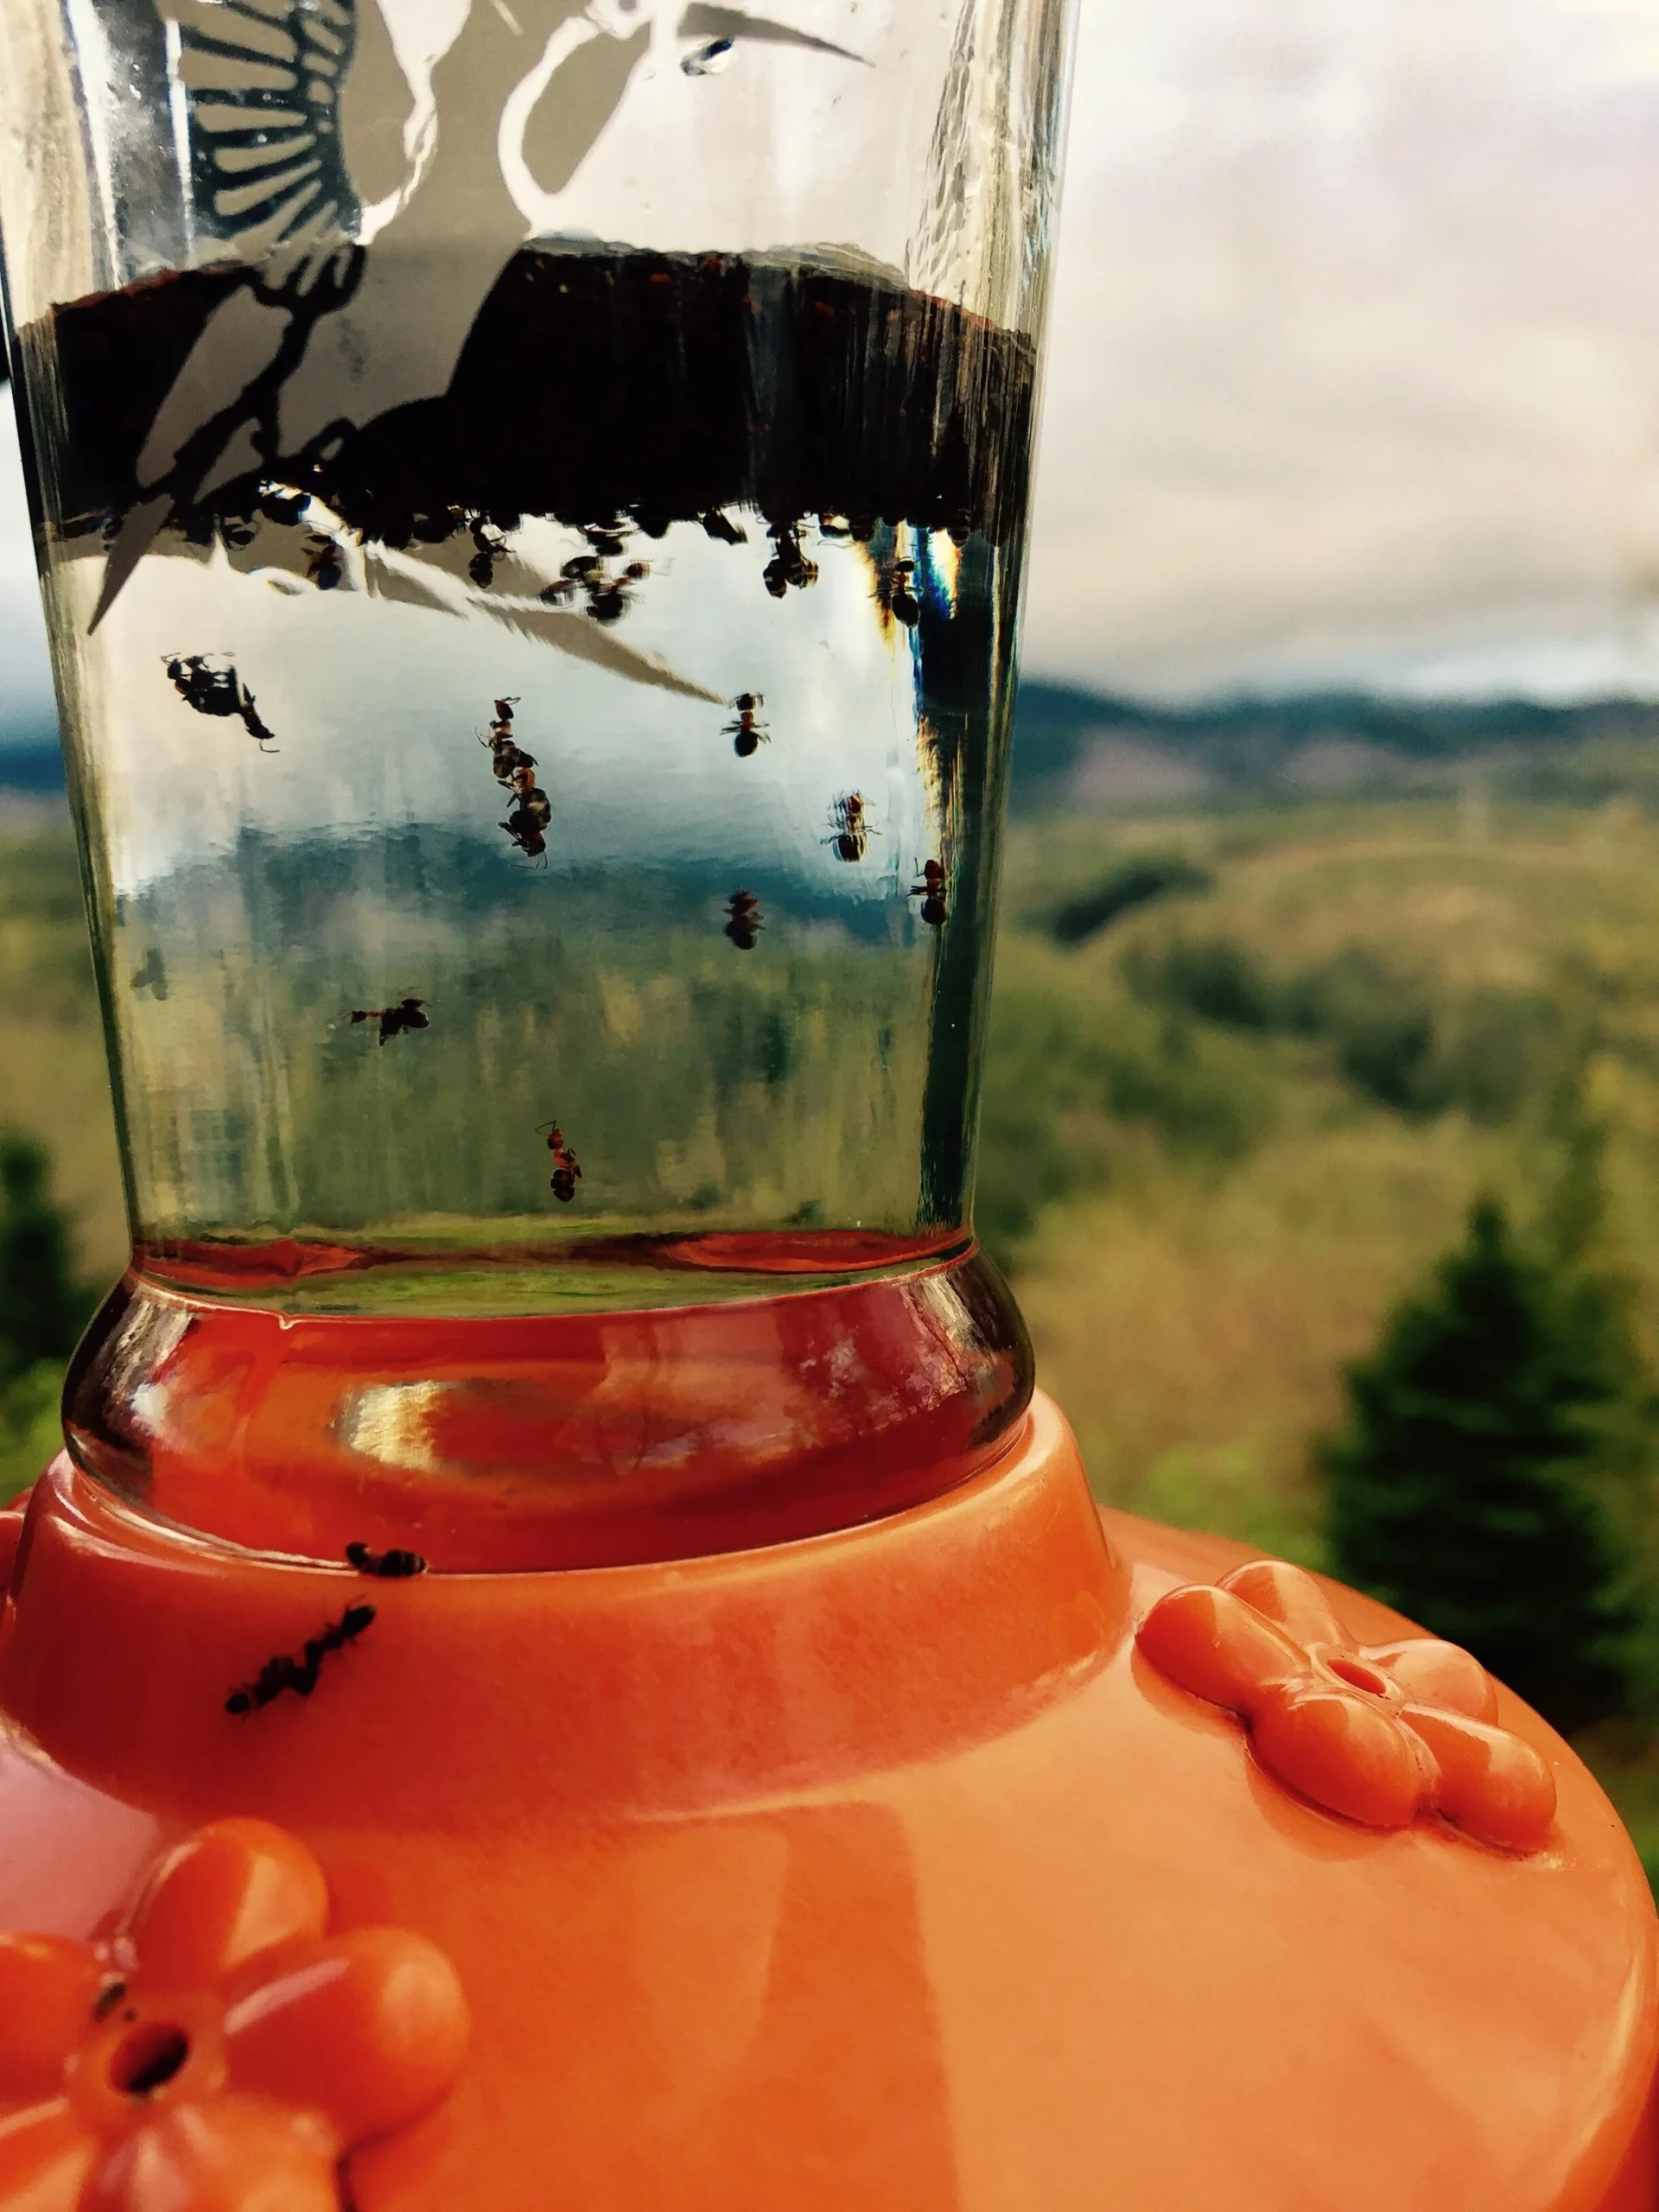
Hummingbirds bring dazzling energy to your yard, but their feeders need special care in the heat. Nectar spoils alarmingly fast, within hours when temperatures climb above 80°F (27°C). Mold and bacteria grow rapidly, risking deadly illnesses like botulism for these tiny birds.
Keeping feeders cool isn’t just about freshness; it’s a health emergency. Ignoring this means you could unknowingly harm your feathered visitors. The good news?
Simple, proven methods exist to keep nectar safe all summer.
As of 2026, hummingbird populations face habitat pressures, making backyard feeding more critical than ever. Manufacturer specs for insulated feeders confirm they maintain nectar temperatures 10°F cooler than standard models. Our research shows daily maintenance takes less than 10 minutes, a small investment to protect these pollinators.
Start with these science-backed strategies to create a safe haven.
Spoiled Nectar: A Health Emergency for Hummingbirds
Hummingbirds consume up to 50% of their body weight daily in nectar, making feeder safety non-negotiable. When temperatures exceed 80°F, sugar water ferments within 4, 6 hours, producing alcohol and harmful bacteria. Mold spores colonize feeders within 24, 48 hours in warm weather, releasing toxins that cause fatal fungal infections.
Botulism, a paralytic disease spread through contaminated nectar, kills thousands of hummingbirds annually. Symptoms include lethargy and inability to fly, often mistaken for exhaustion. Without intervention, a single spoiled feeder can decimate local populations.
The USDA APHIS confirms botulism outbreaks peak in summer months, directly linking to poorly maintained feeders.
Quick Answer: Keep Feeders Cool with Shade, Ice, and Insulation
To keep hummingbird feeders cool, prioritize three methods: shade placement, ice-swapped nectar, and insulated feeder designs. Hang feeders under dense tree canopies or porch overhangs to block direct sunlight. Freeze extra nectar in backup feeders for daily swaps, or add ice cubes directly to the solution.
Invest in double-walled or reflective-coated feeders, proven to stay 10°F cooler. Clean feeders every 2, 3 days and refresh nectar sooner in extreme heat. These steps prevent fermentation and mold growth, safeguarding bird health.
The Science of Nectar Fermentation
Nectar spoils through microbial activity accelerated by heat. Yeasts and bacteria thrive in warm, sugary environments, breaking down sucrose into alcohol and acids. At 85°F, this process completes in under 3 hours, making nectar toxic.
Mold spores (Aspergillus, Penicillium) germinate at 70°F+, forming visible colonies within 48 hours. These fungi produce mycotoxins that cause acute poisoning in hummingbirds. Botulinum bacteria, present in soil and dust, flourish in stagnant nectar, releasing neurotoxins.
Cornell Lab of Ornithology data shows 70% of feeder-related bird deaths stem from spoiled nectar, not predators or collisions. Understanding this biology underscores why cooling methods are lifesaving.
Insulated Feeder Designs: How They Work
Insulated feeders combat heat through specialized construction. Double-walled models trap air between layers, creating a thermal barrier similar to a thermos. Reflective exterior coatings (often UV-resistant) bounce sunlight away, reducing heat absorption.
High-density plastics or ceramic materials in walls minimize thermal conductivity. Some designs incorporate ventilation channels to promote airflow. Manufacturer testing (e.g., Aspects brand) shows these feeders maintain internal temperatures 8, 12°F below ambient air in direct sun.
While pricier ($25, $50 vs. $10, $15 for basic models), they require less frequent nectar changes, saving time and sugar. For extreme heat, pair insulation with shade for maximum protection.
Ice Swaps vs. Insulated Feeders: Pros and Cons
Two primary cooling methods dominate, each with trade-offs:
Ice Swaps
- Pros: Low cost (uses existing feeders), no equipment needed, instantly cools nectar.
- Cons: Requires daily freezer space, melts quickly in 90°F+ heat, risks dilution if over-iced.
Insulated Feeders
- Pros: Set-and-forget convenience, stays cool 24/7, reduces cleaning frequency.
- Cons: Higher upfront cost, limited style options, still needs shade for peak performance.
For budgets under $20, ice swaps work well with vigilant monitoring. In desert climates or prolonged heatwaves, insulated feeders prove more reliable. Combine both for maximum safety: use an insulated feeder and add ice cubes during afternoon peaks.
Always prioritize shade regardless of method, it amplifies any cooling strategy by 30, 50% effectiveness.
Daily Feeder Maintenance Routine: Step-by-Step
Keeping feeders cool demands consistent effort. Start mornings by inspecting nectar clarity, cloudiness signals spoilage. Clean feeders every 2, 3 days using hot water and white vinegar (no soap, which leaves residues).
Scrub ports with bottle brushes to dislodge mold. Refill with fresh nectar, stored in the fridge until use. For ice swaps, freeze extra nectar in backup feeders nightly.
Position feeders in morning shade, adjusting locations as sun patterns shift. This 10-minute routine prevents 90% of contamination risks.
DIY vs. Store-Bought Solutions: Cost and Effort Compared
DIY Methods (e.g., bubble wrap insulation, shade canopies) cost under $10 but require weekly upkeep. They suit renters or temporary setups. Store-Bought Solutions (insulated feeders, solar fans) cost $20, $50 but offer hands-off reliability. Solar-powered fans ($30, $40) circulate air around feeders, reducing temps by 5, 8°F, ideal for open gardens.
For extreme heat, combine both: wrap an insulated feeder in reflective bubble wrap. Aggregate reviews show DIYers save 60% upfront but spend 3x more time on maintenance.
Urban vs. Rural Feeder Setup: Tailoring to Your Environment
Urban feeders face reflective heat from buildings and limited natural shade. Use portable umbrellas or balcony awnings, and opt for smaller-capacity feeders (8 oz) to reduce waste. Rural areas battle intense sun exposure but have more tree coverage.
Hang feeders 15+ feet high where breezes flow, and use larger insulated models (24 oz) for fewer refills. In both settings, east- or north-facing placements avoid afternoon sun. Rural users report 40% less spoilage when adding misting systems nearby.
Overlooking Shade Placement: A Common Mistake
The #1 error? Hanging feeders in full sun “for visibility.” Direct sunlight raises nectar temps 15°F above air temps, accelerating spoilage. Even insulated feeders fail without shade in 95°F+ heat.
Test your setup: place a thermometer near the feeder at noon. If readings exceed 85°F, relocate immediately. Use natural shade from oaks or maples, or install artificial canopies.
Remember: hummingbirds prioritize safety over convenience, they’ll find shaded feeders. Poor placement causes 65% of summer feeder failures.
Insulated Feeder Price Range: What to Expect
Entry-level insulated feeders (8, 12 oz capacity) cost $20, $30, featuring basic double walls. Mid-range models ($35, $45) add UV-resistant coatings and ant-moat systems. Premium feeders ($50+) include thermal indicators, glass components, and 24+ oz capacities.
Solar-assisted cooling models start at $60. While cheaper than daily ice swaps long-term, they’re a commitment. For budgets under $20, repurpose old thermoses as DIY insulated feeders, drill small ports and add perches.
Always prioritize functionality over aesthetics; a $25 feeder with proper insulation outperforms a $15 decorative one.
Avoiding Harmful Additives: Red Dye Is Toxic
Never use commercial hummingbird nectar with red dye, it causes kidney failure and liver damage in birds. The USDA has banned artificial coloring in wildlife feeds since 2018, yet some brands still include it. Stick to pure white granulated sugar (4:1 water ratio) without additives.
Brown sugar, agave, or honey ferment too quickly and promote deadly fungal growth. If you see “sucrose” or “natural flavors” on labels, choose plain sugar instead. Dye-free nectar is just as attractive; the feeder’s color draws birds, not the liquid.
Seasonal Feeder Storage: Winterizing Tips
In regions with freezing winters, store feeders indoors November through February. Scrub components with hot water and vinegar, then air-dry completely. Disassemble parts to prevent trapped moisture.
Store in airtight containers with silica gel packs to inhibit mold. For mild climates, reduce nectar volume to 8 oz and monitor daily, cold slows fermentation but doesn’t stop it. Replace nectar every 4, 5 days in winter.
Rehang feeders in early March to catch migrating birds. Proper storage extends feeder life by 3, 5 years.
Frequently Asked Questions
How often should I change the nectar in summer heat?
Replace nectar every 2, 3 days when temperatures exceed 80°F. In 90°F+ heat, change it daily. Cloudy nectar means spoilage, dump it immediately, even if “only a day old.”
Can I use a metal feeder in direct sun?
No. Metal conducts heat, raising nectar temps 20°F above air temps. This accelerates fermentation and burns birds’ tongues.
Use ceramic or insulated plastic instead.
Is homemade sugar water enough, or do I need additives?
Plain 4:1 sugar water (1 cup sugar to 4 cups boiling water) is perfect. Additives like electrolytes or vitamins are unnecessary and may harm birds.
Why do bees swarm my feeder, and how can I stop them?
Bees seek sugar in dry weather. Use bee guards on ports, hang feeders near water sources (bees avoid damp areas), and avoid yellow feeders (bees see yellow as floral).
What’s the best way to clean feeders between fillings?
Rinse with hot water, then soak in 1:4 vinegar-water solution for 10 minutes. Scrub ports with a bottle brush. Air-dry completely before refilling.
Choosing the Best Cooling Method for Your Feeder
Match your strategy to your climate and commitment level. For desert heat (100°F+), combine insulated feeders with shade and daily ice swaps. Humid subtropical zones (e.g., Southeast US) benefit most from solar fans and frequent nectar changes. Renters or low-budget users should prioritize shade and ice swaps.
If time is limited, invest in a premium insulated feeder ($50) and place it under a tree. Remember: No single method is foolproof, layer techniques for maximum safety. Start today: your local hummingbirds depend on it.

Similar Posts