Diy Backyard Bird Feeder

You've probably seen those cute Pinterest feeders. The wine bottle ones, the teacup ones, the ones that look like tiny barns. And you've probably wondered why the birds in your yard seem to ignore them.
Here's the truth: most DIY bird feeder plans focus on looks first, function second. Birds don't care about charm. They care about safe footing, dry seed, and a clear view of predators.
A feeder that's "pretty" but poorly designed will sit empty while the store-bought one down the street gets a line of chickadees.
So in this guide, we're going to build a diy backyard bird feeder that actually works. We'll cover the five main feeder styles, the materials that survive real weather, a complete step-by-step build for a cedar hopper feeder, and the squirrel-proofing methods that actually hold up.
Our research draws on guidance from the Cornell Lab of Ornithology and the RSPB, both of which have published extensive recommendations on feeder design and placement. As of 2026, their core advice remains consistent: drainage, cleanliness, and safe window distance matter more than any aesthetic choice.
Let's get building.
Why Your Feeder Design Is a Make-or-Break Decision
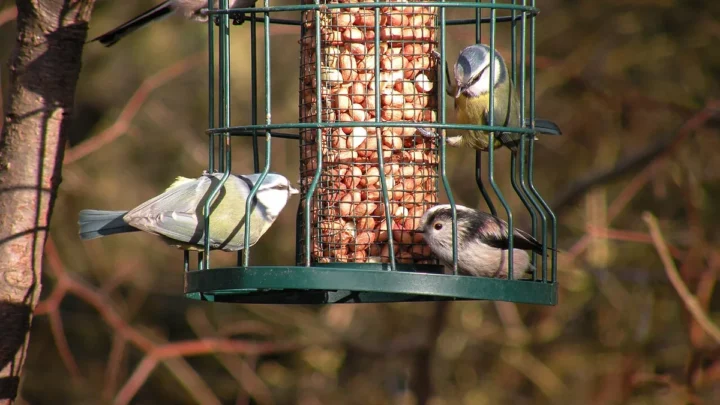
Go with a hopper feeder first. It's the most forgiving design for beginners and attracts the widest variety of birds.
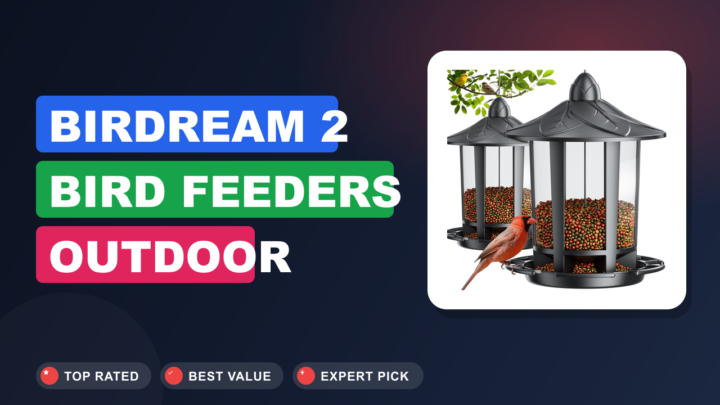
Hopper feeders look like little houses with a seed reservoir in the middle and feeding ports on the sides. They work because they protect seed from rain, hold a decent amount of food, and give birds a stable platform to land on.
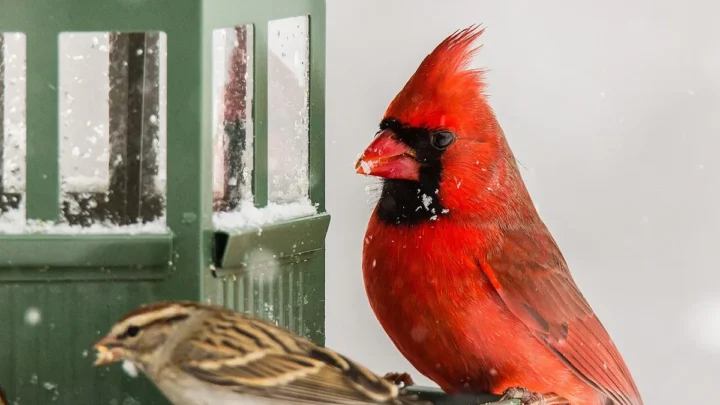
Platform feeders are simpler. They're basically flat trays with a lip around the edge. They attract ground-feeding birds like juncos, doves, and cardinals.
But they leave seed exposed to rain, squirrels, and starlings.
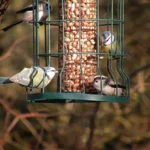
Tube feeders are great for finches and chickadees, but they require precise port sizing. Too big and the seed spills. Too small and the bill can't reach.
Suet feeders are metal cages or mesh bags that hold solid suet cakes. Woodpeckers, nuthatches, and wrens love them. They're cheap to make but need to come down in hot weather.
Window feeders attach to glass with suction cups. They offer incredible views, but they increase collision risk unless placed very close to the glass or farther than 30 feet away.
The visual lesson here: every feeder design has a tradeoff. The best choice depends on your yard, your local birds, and how much maintenance you're willing to do. Photos help, but understanding the layout, perch placement, and drainage is what separates a feeder that works from one that rots quietly in the rain.
The 5 DIY Feeder Styles—and Which One to Build First
Start with a hopper feeder. It's the safest bet for a first build.
Here's a quick breakdown of each style:
| Style | Best For | Difficulty | Maintenance |
|---|---|---|---|
| Hopper | Cardinals, chickadees, finches, titmice | Moderate | Low |
| Platform | Doves, juncos, cardinals, sparrows | Easy | High |
| Tube | Goldfinches, chickadees, nuthatches | Moderate | Medium |
| Suet | Woodpeckers, wrens, nuthatches | Easy | Medium |
| Window | All species up close | Easy | High |
Hopper feeders work best for mixed backyard audiences. The covered reservoir keeps black-oil sunflower seeds dry, and the perch size suits most songbirds.
Platform feeders are fantastic for observation. You'll see birds hop right in. But since everything's exposed, you'll refill more often and clean up seed hulls weekly.
Tube feeders are the finch favorite. The small ports and wire-wrapped sides are perfect for tiny acrobats. But you'll need to match the port size to your local species.
Suet feeders are a winter powerhouse. Woodpeckers can't resist them. Just remember to switch to no-melt suet in summer.
Window feeders offer the closest view. To avoid bird strikes, either place them within 3 feet of the glass or more than 30 feet away. Per the Cornell Lab of Ornithology, in-between distances are the dangerous zone.
Before You Start: Materials and Tools That Actually Last
Cedar is the gold standard for wooden feeders. It resists rot naturally and handles years of rain without warping. Pine is cheaper but needs sealing.
Never use pressure-treated lumber; it contains copper and other chemicals that can leach into seed.
For plastic parts, go with food-grade PET or acrylic. They won't leach anything harmful and they clean up easily. Plexiglass panels give you a view of the seed level without exposing the food.
Tools you'll need for most builds:
- Jigsaw or circular saw
- Drill with various bits
- Screwdriver or impact driver
- Exterior wood screws
- Waterproof wood glue
- Sandpaper or a sanding block
- Measuring tape
- Clamps
A visual note: the diagram above shows a typical hopper feeder layout. You'll notice the roof overhangs the base by at least an inch. That's not an accident.
The overhang keeps rain from dripping directly into the feeding tray. It's the single most overlooked detail in DIY plans.
Sealing is non-negotiable. Use a water-based, non-toxic exterior sealant. Let it cure completely before adding seed.
Manufacturer specs typically indicate 24 to 48 hours, but check your product label.
Step-by-Step Build Guide: A Simple Cedar Hopper Feeder
Let's build that hopper feeder. This plan uses a 1×6 cedar board and a few scraps of plexiglass.
Image source: Wikimedia Commons / shstrng (CC BY)
Step 1: Cut the base, sides, and roof panels.
Cut the base to 10 x 14 inches. Cut the two side panels to 8 x 12 inches at a slight angle so the roof slopes. Cut two roof panels to 8 x 14 inches each.
Sand all edges so there are no splinters.
Step 2: Drill feeding ports and drainage holes.
Drill four to six 1.5-inch holes in the front panel, about 3 inches above the base. If you're using plexiglass sides, drill them into the wood frame instead. Then drill four 1/4-inch drainage holes in the base.
Stagnant water is the fastest way to grow mold and spread disease.
Step 3: Add perches and assemble the body.
Cut two 6-inch dowels for perches. Place them directly below the feeding ports, about 1.5 inches out from the face. Glue and screw the panels together, starting with the base and sides, then the front and back.
Step 4: Attach the roof and hanging hardware.
Attach the two roof panels with screws so they form a peak. Add a bead of waterproof glue along the ridge. Screw two eye bolts into the roof edges, then run a chain or wire between them for hanging.
Step 5: Seal, fill, and position for first use.
Apply a coat of non-toxic outdoor sealant and let it dry fully. Fill the reservoir with black-oil sunflower seed. Hang it 5 to 10 feet off the ground, near a bush or tree for cover, and at least 3 feet from any window.
Squirrel-Proofing Secrets That Actually Work
Squirrels can jump horizontally about 10 feet and vertically about 5 feet. That's the foundation of every good baffle design.
A pole-mounted baffle is your best defense. Install a metal cone or PVC pipe section below the feeder on a 4×4 or steel pole. Place it between 4 and 5 feet up so squirrels can't leap past it.
For hanging feeders, try a dome baffle above the feeder. Squirrels can't climb over it easily, and it also keeps seed dry. Just make sure there's 18 to 24 inches of space between the baffle and the feeder.
Weight-sensitive perches are a clever DIY option. Design the perch to tilt under heavy weight, closing the feeding port. Raccoons are heavy enough to trigger it, but cardinals and chickadees aren't.
Here are a few more tricks that work:
- Place feeders at least 8 feet from any surface squirrels can jump from
- Grease the pole lightly with vegetable oil, but reapply after rain
- Offer a "sacrificial" feeder filled with cheap corn in a far corner
- Use squirrels' own persistence against them: the more obstacles, the more likely they give up
A common visual mistake: people install baffles too low. If a squirrel can stand on the ground and jump over the baffle, it wins. Mount pole baffles at least 4 feet high.
That simple fix stops half the problem.
Common Feeder Fails and How to Spot Them Before It's Too Late
Moldy Seed and Poor Drainage
Moldy seed is the number one reason birds abandon a feeder. You'll spot clumped seed, a musty smell, or a greenish tint along the tray edges. Drainage holes solve this, but only if you drill enough of them.
A base with four small holes will still hold water in humid conditions.
In our research, six to eight quarter-inch holes spread across the base work best. Add a slight slope to the tray so water runs toward the drain points. This is something you can see clearly in a diagram: the tray tilts just a few degrees, and that's all it takes.
Ports That Don't Match Your Birds
Port size matters more than you think. If the holes are too large, seed spills and gets wasted. Too small, and thick-billed birds like cardinals can't reach the food at all.
A 1.5-inch port handles most medium songbirds. For smaller species like goldfinches, go with quarter-inch mesh or tiny holes. Watch the bird activity for a week after hanging your feeder.
If seed spills constantly, the ports are too big. If birds peck but don't eat, they're too small.
Window Collisions and Placement Mistakes
Window strikes are the most serious feeder mistake. Per the Cornell Lab of Ornithology, feeders placed 3 to 30 feet from glass create a death trap. Birds see the reflection and fly straight into it.
Place your feeder within 3 feet of the window, or farther than 30 feet away. If you have a big picture window, add decals or hanging cords on the outside. A feeder that's safe but less visible beats a feeder that's beautiful and deadly.
Cleaning Shortcuts That Spread Disease
A dirty feeder can transmit salmonella and finch conjunctivitis. Skip the rinse-and-dash method. Use hot water and a stiff brush, then rinse with a mild bleach solution (1 part bleach to 9 parts water).
Let it dry completely before refilling.
If you see a sick bird, take the feeder down for two weeks. That pause breaks the transmission cycle. Clean monthly during cool weather and weekly during warm, wet spells.
Real Costs, Maintenance Timeline, and When to Buy Instead
A simple cedar hopper feeder costs $10 to $30 in materials if you buy new lumber. Use scrap wood, and that drops to nearly zero. Hardware like screws, eye bolts, and chain adds a few dollars.
| Material | New Cost | Scrap or Recycled |
|---|---|---|
| Cedar 1×6 board | $12-18 | $0 |
| Plexiglass panel | $8-12 | $0 |
| Screws, glue, sealant | $10-15 | $5 (borrowed or partial) |
| Dowel perches | $3-5 | $0 (use dead twigs) |
Maintenance takes 10 to 15 minutes per week. Refill seed every few days, brush the tray monthly, and reseal the wood once each spring. That's the full commitment.
Buy a store-bought feeder when you lack tools, time, or patience. Cabinet-grade feeders run $15 to $60 and often include built-in squirrel guards. If your DIY project takes two weekends and ends up warped, the store option wins.
DIY Backyard Bird Feeder FAQs
What Kind of Seed Attracts the Widest Variety of Birds?
Black-oil sunflower seed is the winner. Over 40 North American bird species eat it. The thin shells are easy to crack, and the high fat content gives birds quick energy.
Offer it alone or mixed with white millet and cracked corn.
How High Should I Hang My Feeder?
Hang it 5 to 10 feet off the ground. This keeps it out of reach for most ground predators while staying visible to passing birds. For window feeders, the rule changes: place them within 3 feet of the glass to prevent collision strikes.
Why Do Birds Stop Visiting My Feeder Suddenly?
The usual culprits are stale seed, a dirty feeder, or a hawk hunting nearby. Other factors include new outdoor cats, nearby construction, or a natural food boom in the area. Check the seed quality first, then clean the feeder thoroughly.
Is It Safe to Use Pressure-Treated Wood?
No. Pressure-treated lumber contains copper and other chemicals that can leach into seed and harm birds. Stick to cedar, untreated pine, or recycled plastic.
If you already used treated wood, replace the feeding tray with a safe material.
How Often Should I Clean the Feeder in Summer vs. Winter?
Clean every 1 to 2 weeks during warm months. In winter, every 3 to 4 weeks is plenty. Always scrub after wet weather, because damp seed grows mold fast.
A clean feeder is the best way to keep local birds healthy and returning daily.

Similar Posts